The illustration technique I used for Hababy’s Christmas Eve is one I started developing on a previous greeting card project and embraced fully during the Hababy project. The need was to create hand drawn illustrations that had both intensity of color and detail in the drawings. In the case of Hababy those details included fur and cloth textures.
During my design school days (North Carolina State College of Design in Raleigh, NC) I had quite a few classes in rendering using markers as the main drawing tool. Markers were used because of their strong colors, bold strokes and rapid ability to create a concept image. However, it is hard to get small details with markers as they spread/bleed into most surfaces. Fine point pens, graphite or colored pencils are better for details, but not as good at covering large areas with bold colors.
A combination of markers, pens and pencils would then seem to cover all needs. I wasn’t 100% happy with the way those had worked together on the paper I used when I had worked on the greeting cards. For Hababy I wanted to find a better solution – a paper that would maximize the strengths of each of those tools. I tried many – drawing paper, craft paper, high quality matte board, marker paper, watercolor paper, etc…until I tried velum. Specifically, denril™ multi-media vellum.
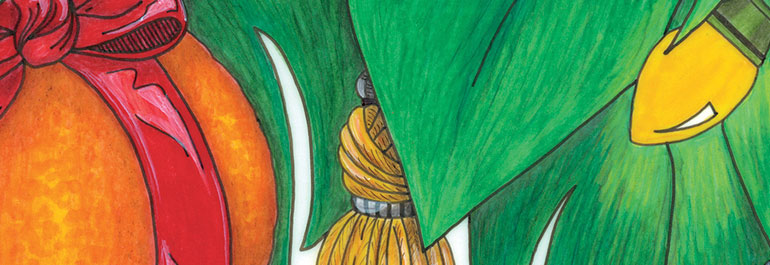
Look at the close up of the Christmas tree from the cover of Hababy at the top of this post. Note the bold red, yellow, green and orange base colors. Then notice the texture on the leaves and the orange rind. Those textures are made with various marker colors combined with stroke direction. Now notice the color reflection of the light on the leaves, the highlight on the ribbon and the color variations in the tassel. Those are all created with color pencil. The black outlines and details on the tassel are done with various thickness Pigma Micron pens.